Getting Started
This chapter is for the person setting up ScreenJournal for their organisation — usually the owner or first admin.
Create your account and organisation
Go to the ScreenJournal web app and enter your work email. There are no passwords: ScreenJournal emails you a sign-in link, with a code you can type manually as a fallback.
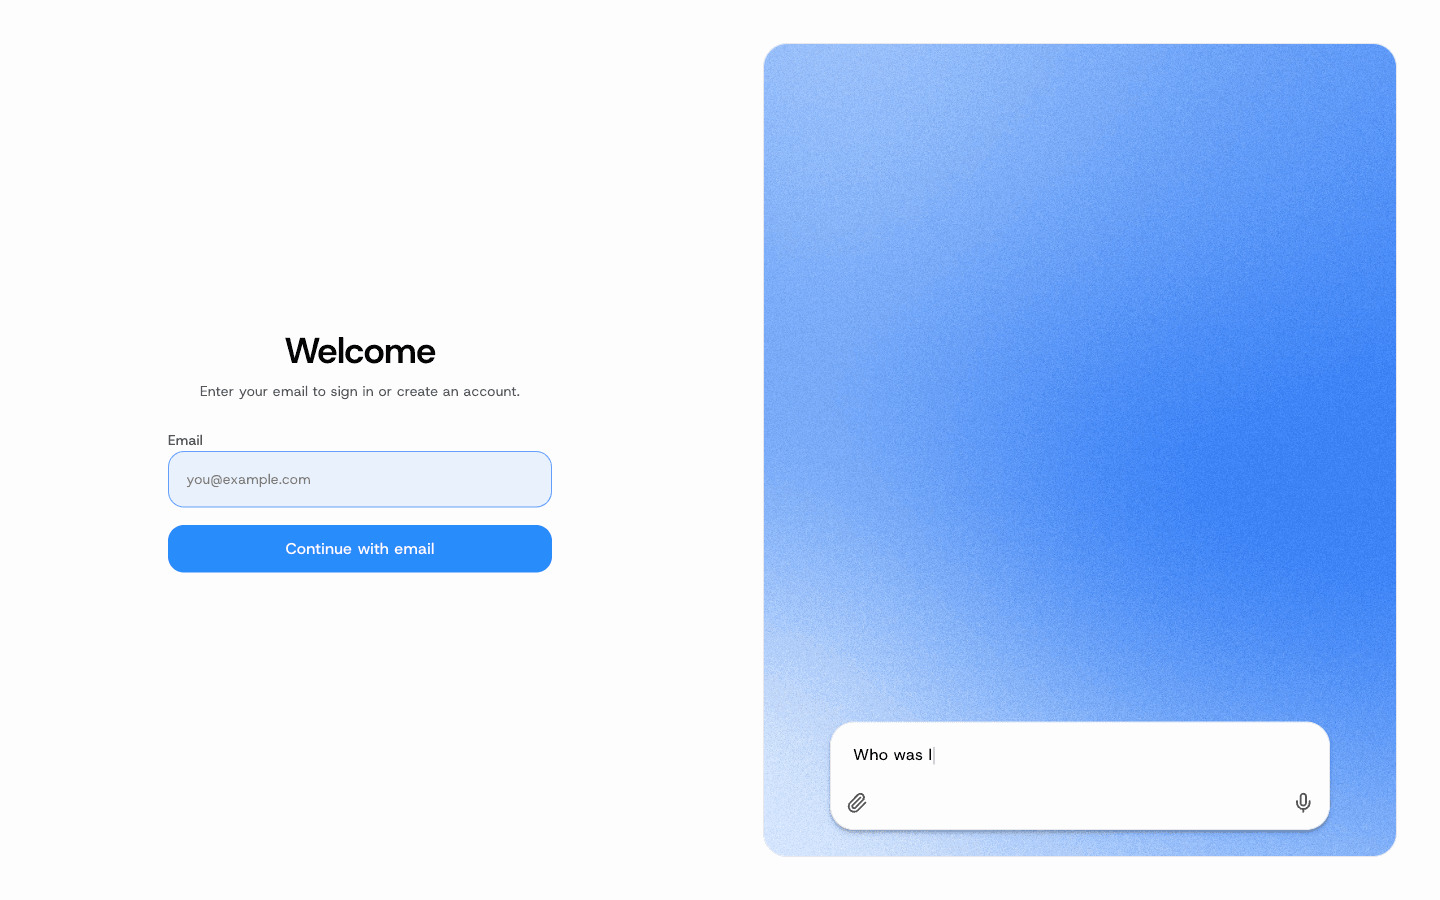
What you see: the welcome screen with a single email field. New emails create an account; existing emails sign straight in.
What to do:
- Enter your email and select Continue with email.
- Open the email we send you and follow the sign-in link. It expires after 5 minutes; Enter code manually lets you paste the code instead.
- As a brand-new user you're walked through a short setup wizard:
- Create an organisation — name your company. If your region is listed, you can also set a Primary jurisdiction here (it can be changed later under Organisation settings → General).
- Set your organisation's timezone — this decides where "a day" starts and ends for rankings, timesheets and reports. Pick the zone your team mostly works in; individuals can still choose their own display timezone later. You can skip and set it later.
- Set up your profile — your name. Your avatar is generated from it; there is no photo upload.
- Invite teammates — add emails now, or Copy invite link to share. You can skip this and invite people later from the People page.
- Start your free trial — shown only when your plan asks for a card up front ("You won't be charged until the trial ends"). Otherwise the trial starts by itself and this step doesn't appear.
- Get the desktop app — download links for Mac (Apple Silicon), Mac (Intel) and Windows. Continue to dashboard stays locked until the app has been installed and signed in with this same account; the page notices by itself. Owners, admins, managers, team managers, viewers and billing users get a Skip for now link because they may never record their own screen. Employees don't: without the app there is nothing to track.
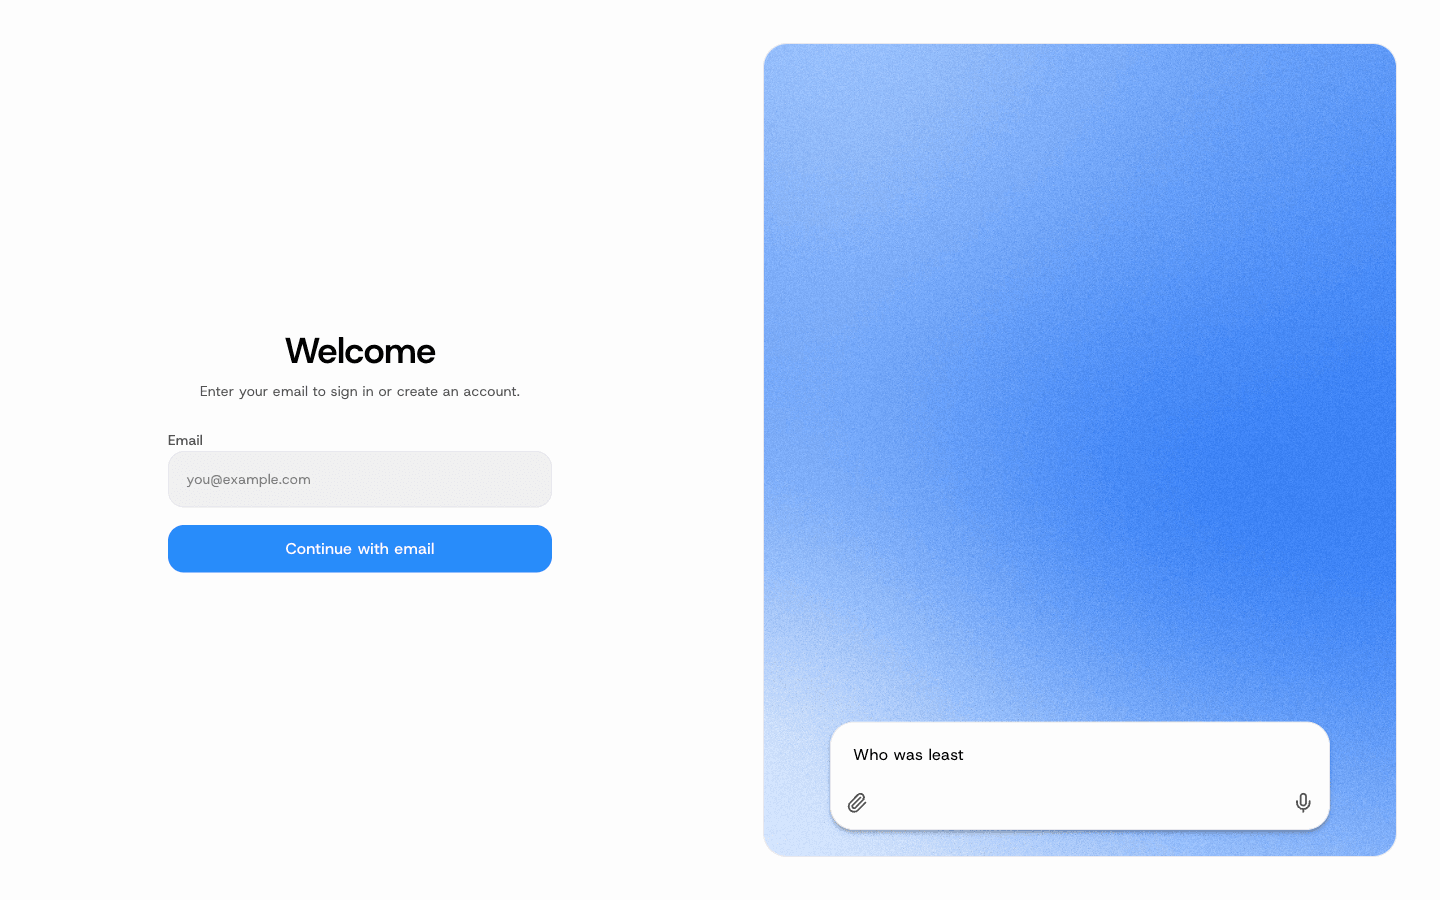
Signing in later looks the same — email, link, done:
Understand the roles
Everyone in your organisation has exactly one role:
| Role | What they can do |
|---|---|
| Owner | Full control. The person who created the organisation; only another owner can grant or revoke ownership. |
| Admin | Manage members, teams, billing, desktop policy, alert rules and every organisation setting. |
| Manager | Manage members and teams organisation-wide, set the working calendar, and view everyone's data. No billing, desktop policy or alert configuration. |
| Team Manager | Sees and manages only their own team's members and data, plus anyone who reports to them. Can set desktop policy and alert rules for their team. |
| Viewer | Read-only across the organisation. Cannot export, generate reports, or request AI summaries. |
| Billing | Manages the subscription and seats only — no access to members or activity data. |
| Employee | The default for team members. Runs the desktop app and sees only their own data. |
Two things sit alongside the role:
- Reporting lines. On the People page you can say who a person reports to. Whatever their role, a reporting manager sees their reportees' Overview, Activity, Audio, Ranking, Reports and Review.
- Teams. Each person belongs to at most one team. Team managers, team-scoped policies and team reports all key off it.
You assign and change roles on the People page (see the People chapter).
Get your team installed
Each team member needs the desktop app running on their work machine; without it, no activity is recorded for them.
- Invite them (People → Invite members, or the invite link from the setup wizard). They accept by opening the email invitation and are walked through their own short wizard, ending on the desktop download.
- They install the app on their Mac or Windows machine, sign in, accept the recording notice and — on a Mac — grant Screen Recording, Microphone and Accessibility permissions.
- They press play. About 15 minutes later their first segments appear.
On the People page the Setup column moves from Signed up to Installed once the app has checked in, and Last seen shows a green Online while it's running. Someone who is stuck on "Signed up" can be sent a download reminder from their row.
The member-side experience is covered step by step in The Desktop App.
Your trial and billing
New organisations start on a free trial. Depending on how your account was set up it either starts automatically with a small seat allowance, or asks for a card in the wizard and charges nothing until the trial ends. The Billing page is where you subscribe, manage seats and payment, and redeem trial codes. Owners, admins and the Billing role can open it.
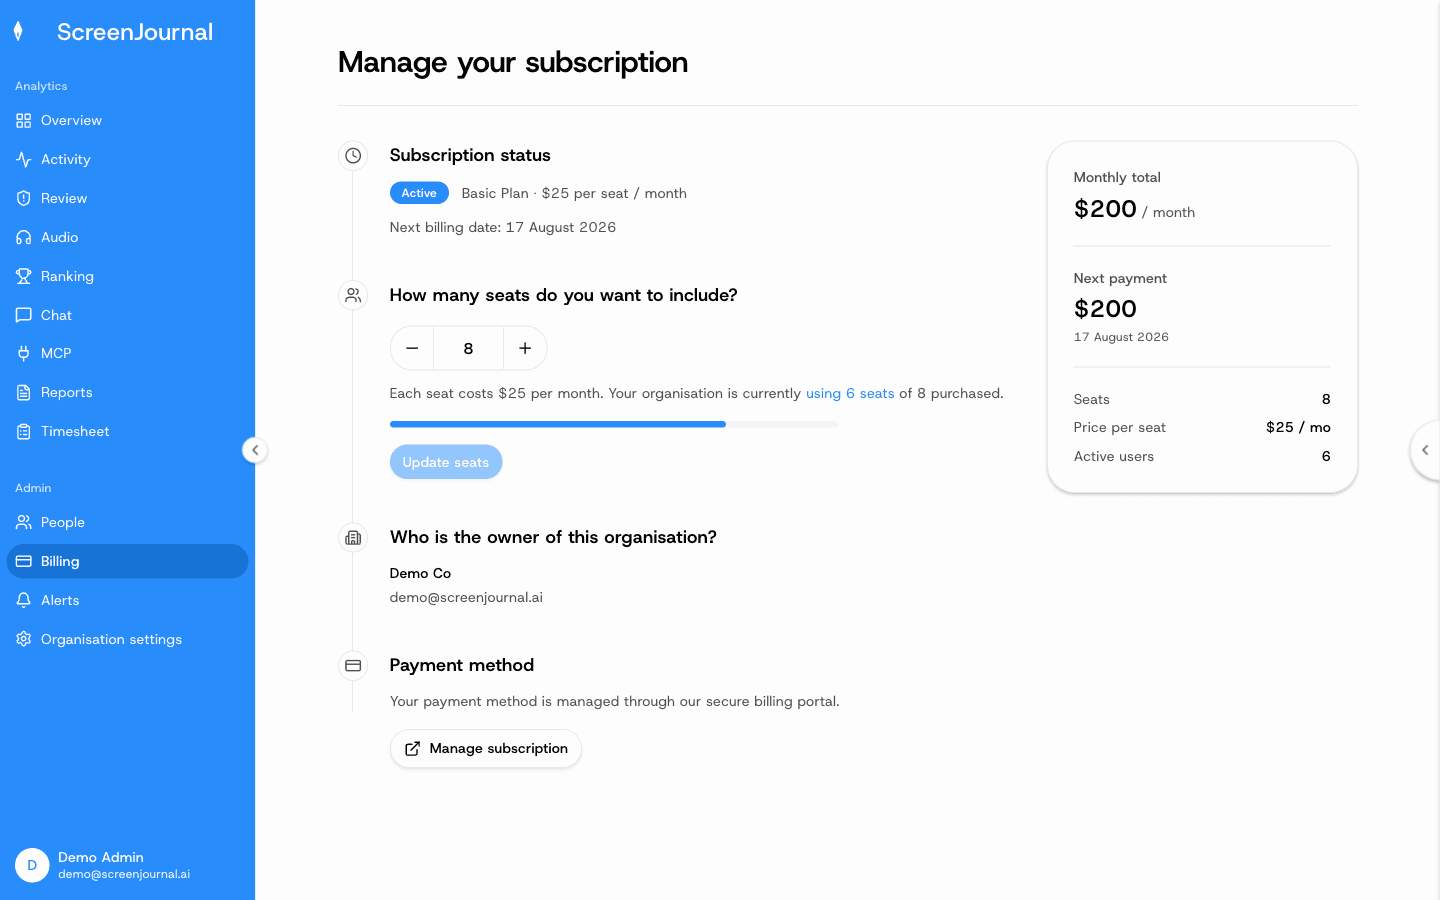
What you see:
- Subscription status — trial days left or the plan status, the next payment or cancellation date, and the monthly total.
- How many seats do you want to include? — the seat count, price per seat and how many active users occupy them. Going over shows an Over badge with a hint to deactivate users on the People page or add seats.
- Who is the owner of this organisation?
- Payment method — Manage subscription opens the secure billing portal (cards, invoices, cancellation); Subscribe now starts a paid plan from a trial.
- Have a code? — redeem a trial code to reset the free trial while you are still on it.
What you can do: subscribe, change the number of seats as your team grows or shrinks (Update seats), open the portal, and redeem codes. A deactivated member frees their seat immediately.
Recommended first-week checklist
- Create the organisation and set its timezone.
- Set the Working calendar (Organisation settings) so weekends and holidays don't count as absences.
- Review Organisation settings → Desktop policy — decide what members' desktop apps are allowed to do (pausing, screen and audio capture modes, privacy exclusions) before rolling the app out.
- Invite the team and confirm everyone reaches Installed on People.
- Skim Overview and Ranking after a couple of days of data.
- Set pay overrides on Timesheet if you plan to use it for pay, and write your first alert prompt if you plan to use Alerts.